It has become tradition that this is the first thing we put up every year! The room it is in changes (we like to keep it behind closed door because of the cats) and of course the size of the table has grown each year as more houses have been added. It used to live on a pingpong table in my brother's old bedroom, but this year we decided to set it up in the newly renovated model train room, since it was conveniently empty from the reno and there was plenty of room! We used a bunch of folding tables to create an easier-to-set-up layout.
Here is a rundown on how I think a village should be set up!
1. Lay out tables in desired arrangement
2. Cover tables in table cloths. We do this to help diminish the sight of the cords running down the back.
3. Cover tables with foam pieces, leaving gaps to run the cords through. This is actually quite useful to create little gaps to run the cords in when you need to run from the other side of the table.
4. Cover the table in sparky rolls of cotton! At least I think this is cotton? It is supposed to be like fake snow and there are sparkles in it (works well for a magical town!). Then layout your train track for the village and unpack the houses. And be sure to forget photos of those steps. haha.
Model railroading is in my blood (thanks dad), but I did learn that my original track layout that made a kind of figure eight would lead to a short in the track. Oops! Thankfully dad caught it early and showed me why it couldn't be done, so I switched to a simple giant loop. I also like to sort the houses by "types" as I unpack (residences, restaurants, shops, various industry). That way when I design the layout of the town it can be somewhat logical, with shops and food appropriately spread around town.
Oh and for what I mean by unpack, here are all the styrofoam boxes for this set! They used to live in my brother's old closet, but now they have a storage spot in the reno'd basement. My dad also labeled all the tops and bottoms of the boxes with what house goes in it to make packing it up much much easier.
5. Lay er out!
6. String the lights in! Each house has a single bulb on a cord. My dad once found these great extension cords that has 9 outlets spaced out along the cord in groups of three (imagine a regular extension cord that has another cord with another end coming out the end). I plug everything into an extension cord with a button and connect them all together, laying evenly out. This means the whole village (including the train- which we never found while I was there) turns on and off with a quick switch!. As for installing the lights, I run the bulb under the sparkly white sheet and rip a hole (it rips easy) under the house. It is time consuming, but looks amazing if you can hide all the cords.
7. Add all the people! Ah, you have come to the end! Now I just add in a few sparkly trees that we bought separately and then I add in the hundreds of tiny figurines that come with the set. I have included a few shots of my favourites too!!
 |
| Mistletoe on the antler! too cute |
 |
| Two elves trying to impress a lady |
 |
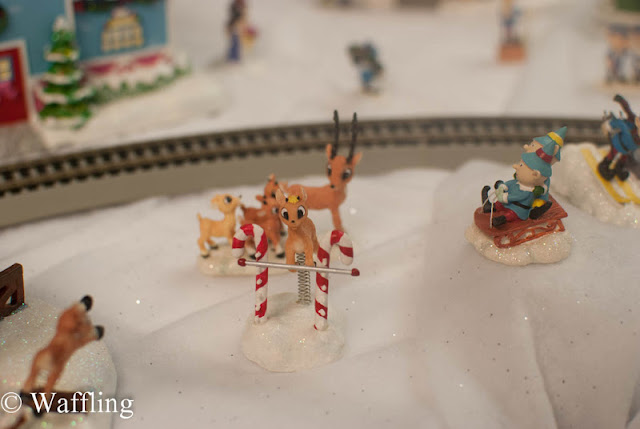
| Practicing flying! The pole height is adjustable |
 |
| The train station |
 |
| The band playing in front of the Music Academy! |
And to show you just how much this thing has grown, here is the layout from 2007
Dang, where was the plate of cookies this year??


That was soo much fun when we did it last year!
ReplyDeleteWhere is my bowling alley woman lol
ReplyDeleteBack right corner silly! you saw it yesterday!
Delete