
The only issue I had with my two new chairs is that I had already recovered my old ones- and I didn't have any more of the material (it was actually an old West Elm pillowcase I got on clearance). Boo. And I didn't want mismatched chairs because....well because I didn't! However, with my new resolve not to spend ridiculous sums of money on home decor, I wasn't as willing to jump on the subway to Fabricland. Ok, I am lying. I went to fabric land but I didn't see anything that I liked.
However I DID go to Value Village and I DID peek into the bedding section- and I found some pretty sheets that would work just great! Hurrah! Say hello to my new chair fabric:

It was actually a duvet cover, but once I cut it up it was HUGE. And I got all this fabric for only $10. Except now everything I make will be made from this because it is sooooo much. haha. It it olive-y green and white. Kinda like fortune cookies in pattern. Totally lucky fabric.
So back to my chairs. Here is the before:

I actually did like the grey stripes, and I was sad to see them go, but it was time to experiment a bit with some colour! So I flipped em over and unscrewed the bases.

When I originally recovered them, I didn't have a staple gun, so I just taped the fabric in place and screwed through it when I reattached! It worked like a charm and if you don't have a staple gun this also might work for you.
My before pile of seat cushions:

I then laid a seat on the fabric and cut around, leaving a few inches to wrap around. I put a couple of staples in, and then checked to make sure the pattern was straight.


This one was a little crooked, but I couldn't photograph it. By checking before you go staple-happy, you can easily fix any crookedness with a few pulled staples.
All done!

I just made sure to keep it nice and tight as I went, especially around the corners. I didn't worry about covering the guide holes for the screws, because these seats sit in a certain way on the frame. Very easy to get in the sweet spot later.

It took me less that 30 minutes to cover them all. It would have been faster, but my darn stapler kept jamming! Then I ran out of staples and when I reloaded, it was totally normal again. Weird.
Then I quickly screwed them all back to their bases. You can see how those small wooden squares help me line it back up perfectly:

And the finished product!
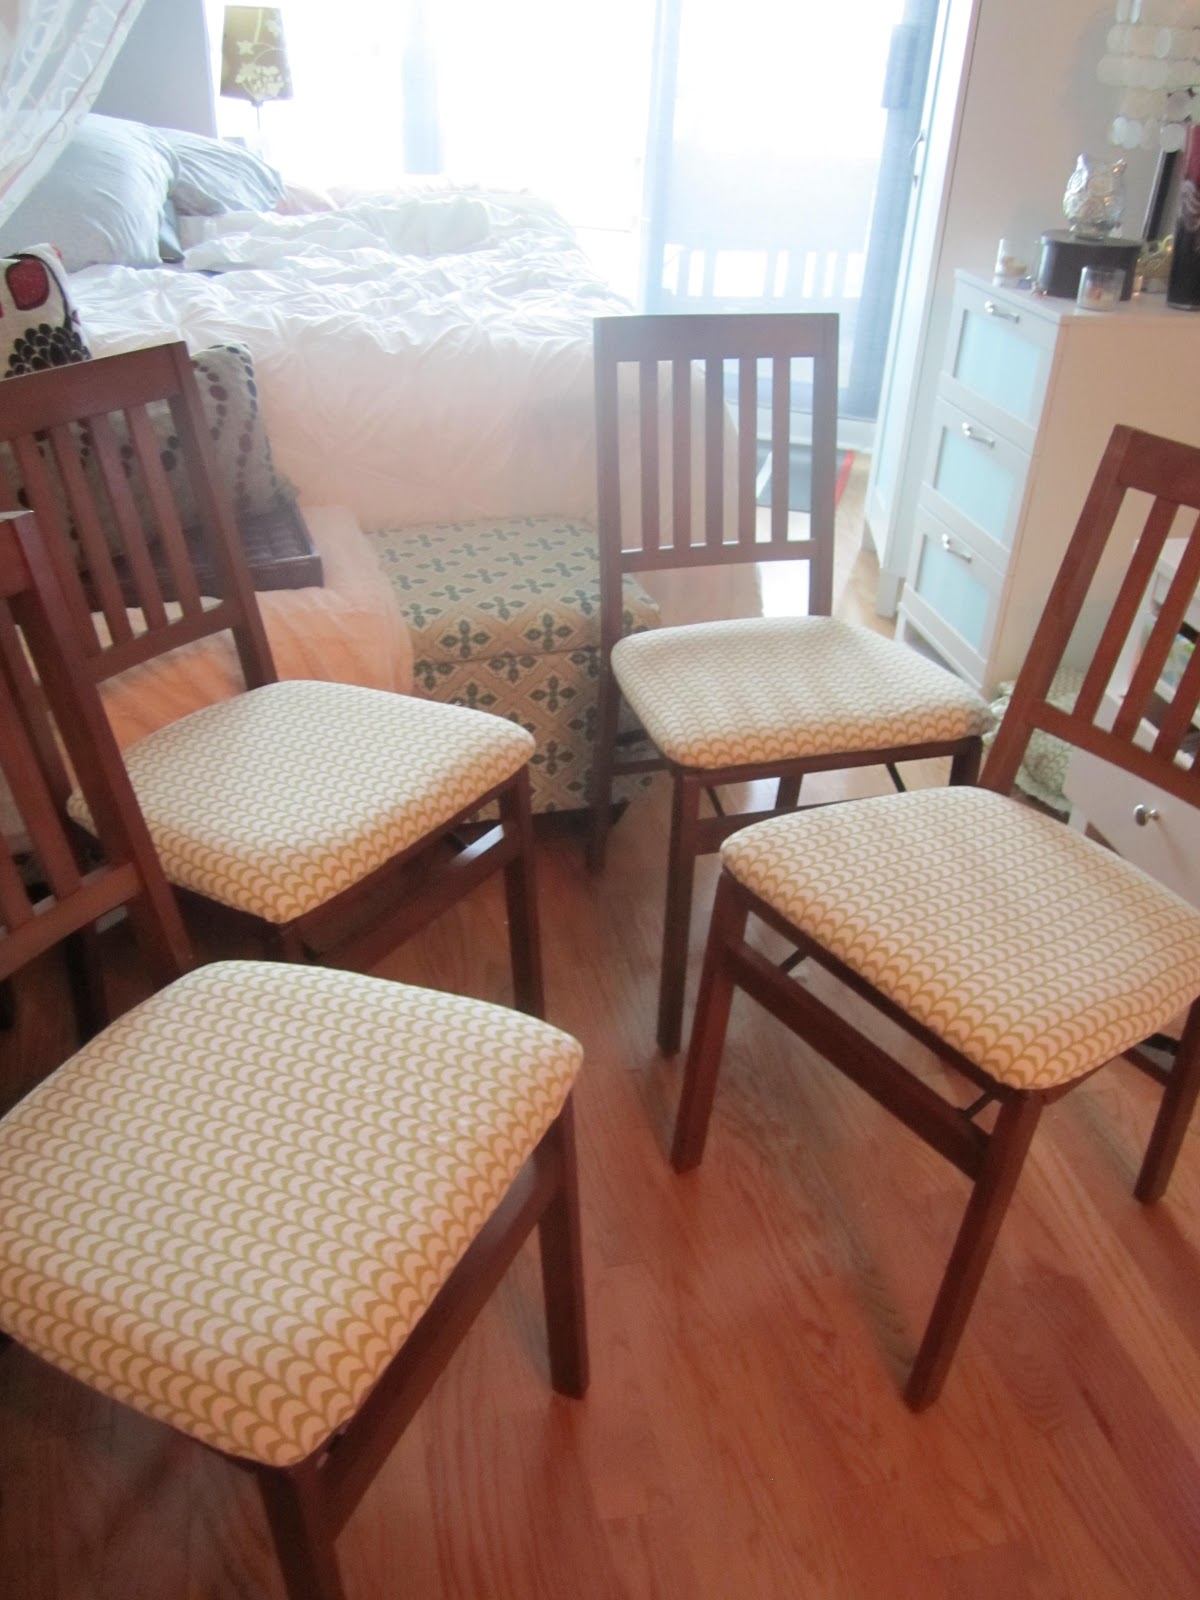


I really like them. The olive green is still fairly neutral, so they don't compete with the ottoman (small spaces limit all the pattern combos I can try) and I this that the colour of this fabric plays off the warm wood tones well. It is hard to photograph, but the colours are a bit more vibrant in person.
Tomorrow I will show you my storage technique for the other two chairs! Stay tuned!

You make it so easy!!
ReplyDeleteI have a bunch of fabric left over from some college projects and now I'm inspired to re-do my cheap chairs =)
Thanks Nessa! It is such an easy "upholstery" project that makes a big impact!
Delete